Google Search Console is a console or panel used by website owners to monitor how their websites’ do in Google Search results.
nanadwumor

- Google Search Console is used to monitor how websites do in Google Search results.
- The Search Console updates you on errors on your website
RECOMMENDED ARTICLES
How to do SEO Analysis using Rank Math WordPress plugin
The RankMath SEO Analyzer lays the basic foundation for your website to get continuous traffic. It's not the end of it though as you are required to continue tuning your SEO to improve traffic. ...
How to display Divi Blog in List Layout using CSS in Code Module
The blog module is one of the many modules in the Divi theme. The blog module displays the blog posts. The blog module can be used to display categories of blogs on a page. The blog module can...
Some WordPress wp_config file Hacks you did not know
The wp-config file is a core WordPress configuration file. This file is generated during the WordPress installation and contains details specific to your installation and server environment. Read this article if you want to know the structure and meaning of the...
Search Engine is synonymous with Google. It comes as no surprise that every website owner wants his website found by the Google Search Engine (formerly called Google Webmaster Tools).
It’s an unalienable part of your SEO drive.
In this article, we will dive into how you can add your WordPress website to the Google Search Console or the so-called Webmaster Tools.
The Google Search Console
Google Search Console is a console or panel used by website owners to monitor how their websites’ do in Google Search results.
The Search Console updates you on errors on your website as far as its visibility in search results is concerned, problems concerning indexing of pages or posts on the site, security and many more.
Adding your WordPress to Google Search Console is one of the major WordPress SEO practices.
Time to add your WordPress site to Google Search Console
Step 1: Click Google Search Console to go to its site and begin. Click Start Now button.
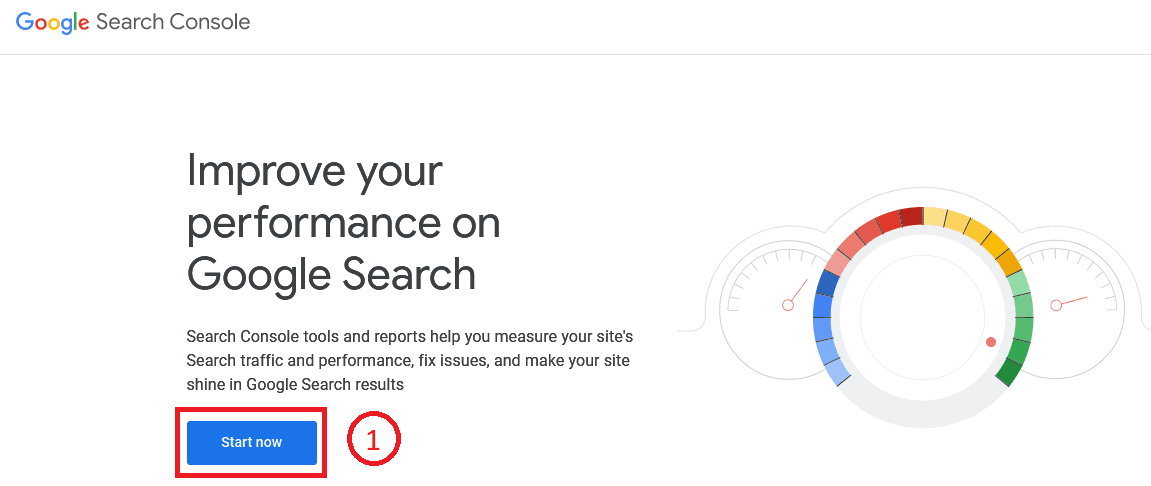

Step 2: Sign into your Google account
NOTE: Google allows you to verify your website in two ways. One way is called the domain name and the other is the URL prefix.
In this tutorial,we use the URL prefix method.
You should take care to enter the correct URL of your website. You can find the correct URL by going to your WordPress dashboard band clicking Settings >> General. The correct sequence of you’re website’s URL is evident there.
Now, let’s get back to our steps.
Step 3: Click Add Property
Step 4: Enter your website’s URL
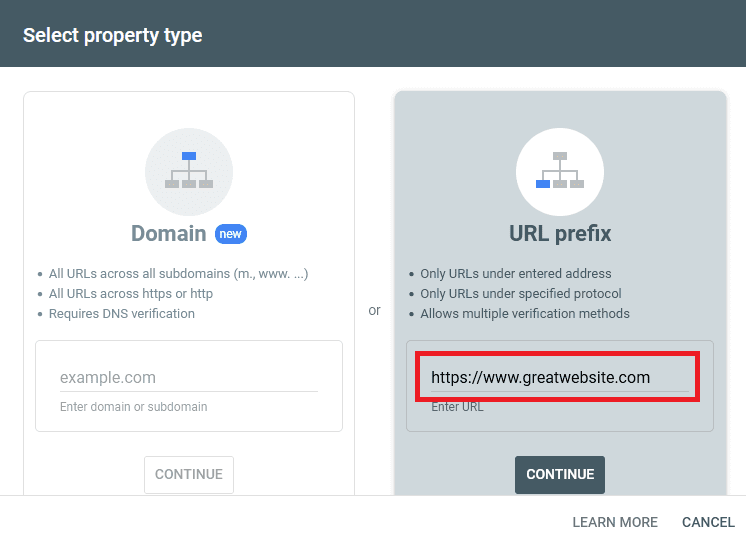

You should understand that there’s difference between http and https and Google treats each of these protocols different.
Besides, websites with www or no www are treated differently by the Google Search Engine. That’s, https:www.factalive.com will be seen differently by Google Search Engine from https:factalive.com.
Step 5: Click “Continue” after entering the correct URL
Google would now want to know if the website you want to add is really yours. You cannot be allowed to add a website that is not yours or do not have authority to do so.
We have many ways you can verify the ownership of your website.
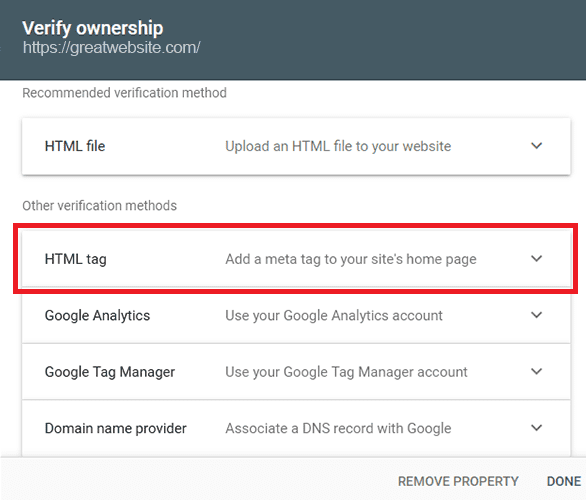
We’ll use the HTML tag verification method because we only need the authorization code to be placed in the RankMath SEO plugin.
Let’s set the records straight on why we are using an SEO plug-in.
We could have pasted the HTML tag verification right in our WordPress website code. In fact, most WordPress website tutorials do advise that.
Unfortunately, this method is quite costly. The HTML tag verification will be gone whenever you update your theme or change your current theme. By installing a powerful SEO plug-in like RankMath and pasting the code in it, we do not only overcome this hurdle but profits from RankMath’s powerful SEO features.
If the verification code is wiped away at a point, Google will blacklist you from the website’s data in the Search Console.
To ensure that your verification code is never erased and Google never arrest your access to Search Console data, we will install the very powerful RankMath plugin. You can use the free version of RankMath.
Without a tinge of exaggeration, RankMath offers more features in its free version than AIOSEO or Yoast. Besides, it’s far cheaper than these two plugins. If you’re serious about growing your website to reach the millions quickly on a small budget, consider subscribing for the pro version of RankMath. Unlike AIOSEO and Yoast, you can use it for multiple websites for the same price.
Step 5: Click to expand the HTML tag. Copy the meta tag to be pasted on your WordPress website. Make sure this page remains opened.

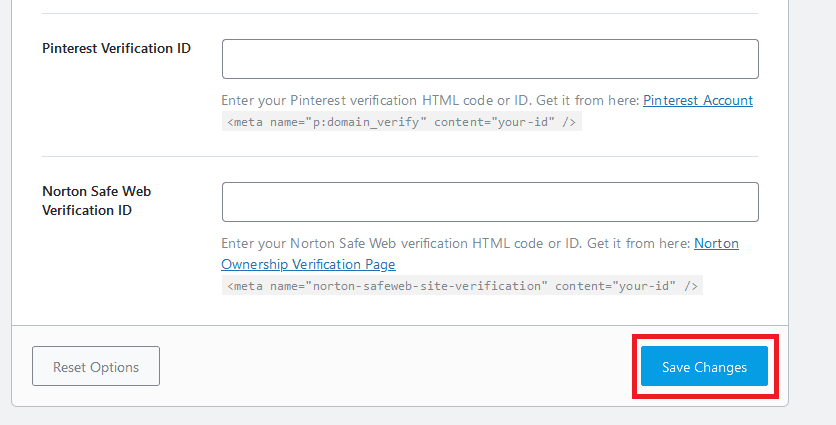
Step 6: Open your WordPress website in another tab. Go to your dashboard. Open Webmaster Tools settings in RankMath by going to your WordPress dashboard and clicking RankMath >> General Settings >> Webmaster Tools. Paste the copied code in the Google Search Console field.
Step 7: Click Save Changes to save the changes in RankMath

Step 8: Head back to the Search Console and click Verify. If everything goes on well, Google will display a message confirming that website is verified.
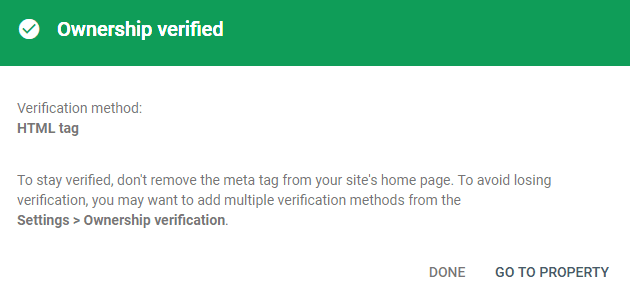

Note: If Google is unable to verify your site with this method, clear your website’s cache and try to verify your website once again. This gets rid of old files and paves way for Google to request for fresh files.
Checking your Google Search Console
Click ‘Go to Property’ to go to your Google Search Console dashboard.
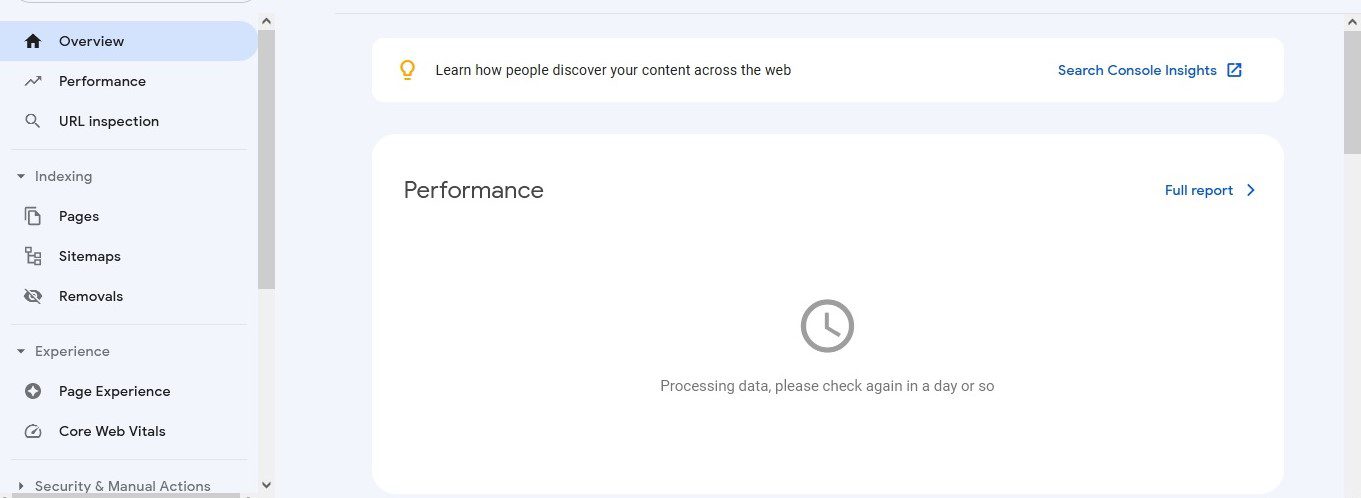

Google may take some time before showing data on your Search Console.
Join Our Telegram Group
Join Our WhatSapp Group
You May Also Like…
How to do SEO Analysis using Rank Math WordPress plugin
The RankMath SEO Analyzer lays the basic foundation for your website to get continuous traffic....
How to display Divi Blog in List Layout using CSS in Code Module
The blog module is one of the many modules in the Divi theme. The blog module displays the blog...
Some WordPress wp_config file Hacks you did not know
The wp-config file is a core WordPress configuration file. This file is generated during the...



0 Comments